Estimate reading time:
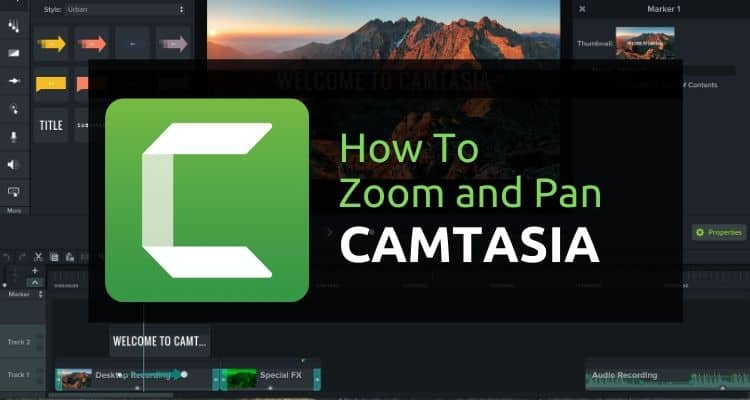
Camtasia is one of the most beloved video editing software used by beginners and seasoned video editors. Despite its popularity however, users have frequently inquired about its zoom and pan feature. Here is a quick tutorial on how to make a zoom and pan effect using Techsmith’s Camatasia.
How to zoom in Camtasia
Have you ever asked how to create a zoom effect in Camtasia? Then here is your answer. Camtasia is not only a robust video editing software, it also lets you record your screen making it highly useful for video tutorials. Below is a step by step guide on how to zoom in Camtasia using a Mac.
Step 1
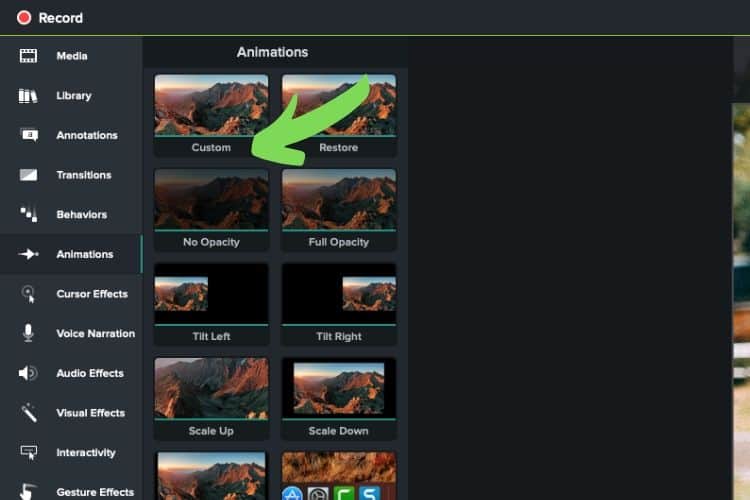
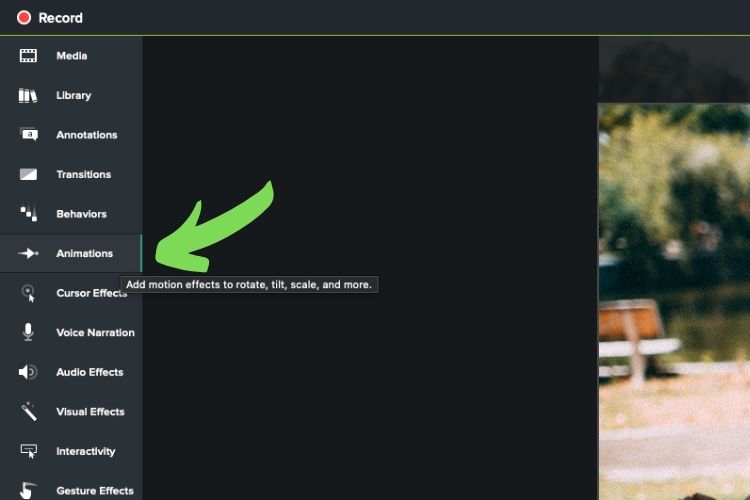
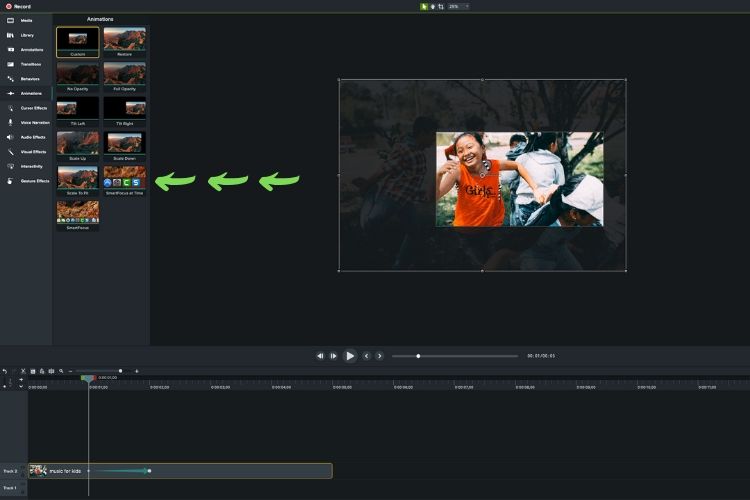
Click on the animation tab. This reveals all of the animation options made available for a clip.

Step 2
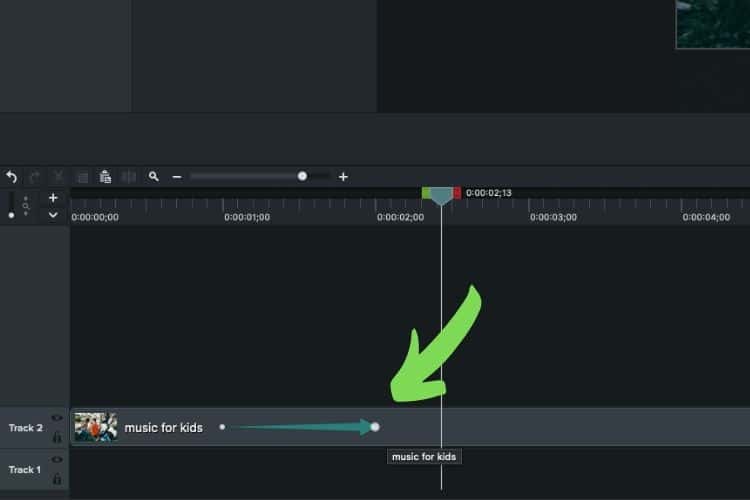
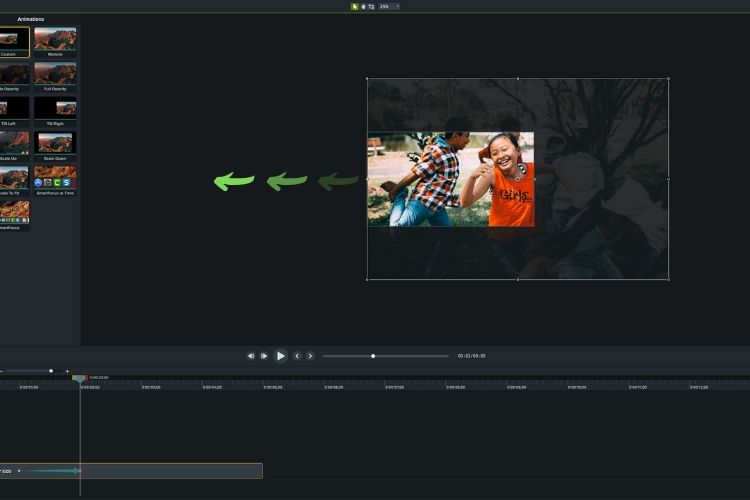
Next, click on Custom window and drag it to the clip you want the zoom effect to affect. Doing so adds a green arrow, known as a keyframe, that sits on your clip. The back end point of the arrow marks the beginning of the zoom while the arrow’s head represents the end of the zoom effect.
Step 3 (Very Important)
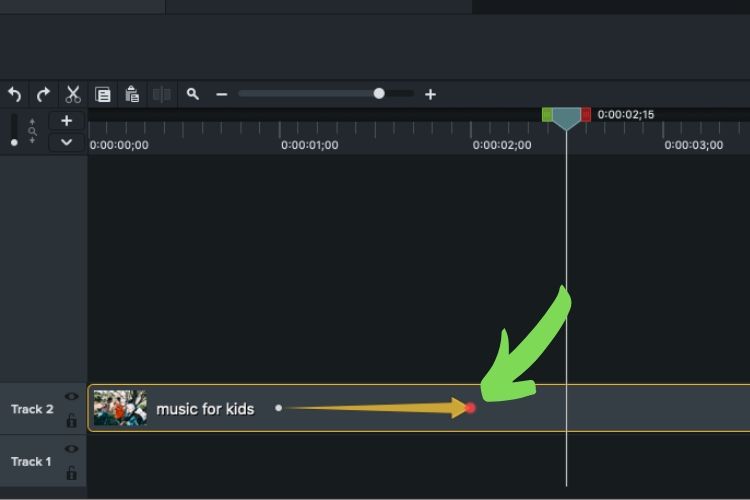
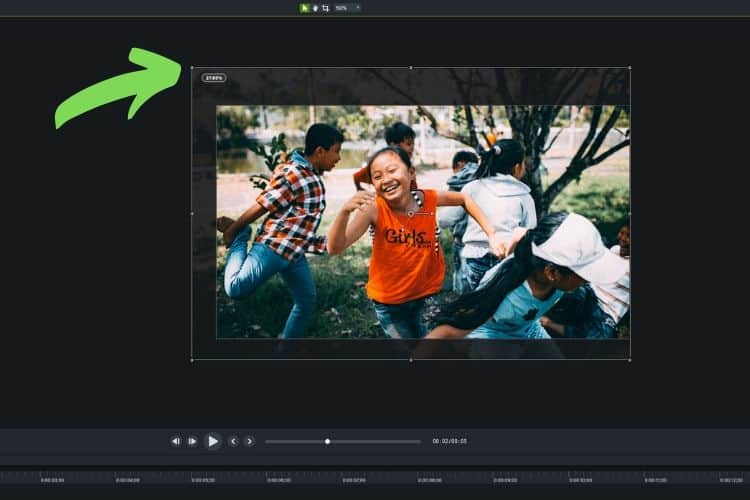
Click on the point located at the head of the arrow turning it from white to red. You're ready to adjust (zoom) your footage/image.
Step 4
While your the point of your arrowhead glows red, turn to the main area of the screensize window and select any corner. Next, enlarge the footage by outwardly dragging any corner to the desired zooming amount. Continue to zoom into the region of the photo/footage you want your viewer to focus on. As a general rule, be sure to keep the zoomed-in area in the center of the screen window.
Step 5
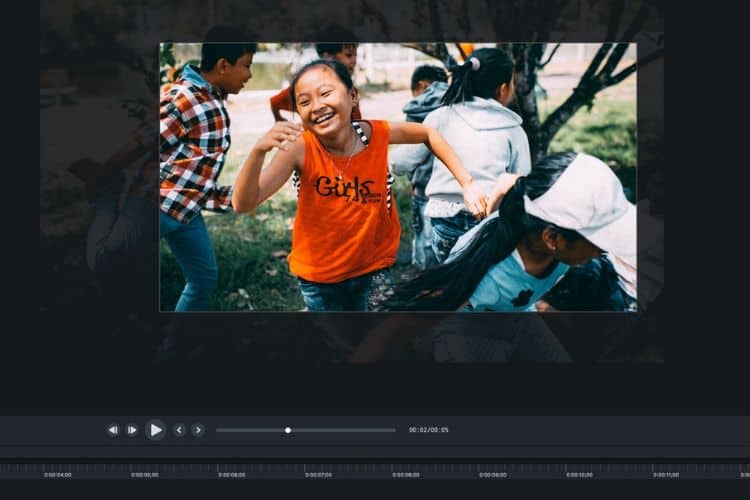
That’s it. Bring your playhead back to the beginning of the clip and press play to witness the zooming effect you’ve just created.
Options:
The length of the arrow determines the speed of the zoom. Shrinking the length of the arrow essentially quickens the zooming effect making it zoom faster. Conversely, extending the length of the body of the arrow causes it to zoom slower.
How to pan in Camtasia
Camtasia’s panning effect works much the same way at its zooming counterpart. Instead of zooming in, the panning effect will glides the footage across the screen bringing attention to a focal point. Here’s a step by step explanation on how to pan in Camatia.
Step 1
Click on the animation tab. This reveals all of the animation options made available for a clip.
Step 2
Next, click on Custom window and drag it to the clip you want the pan effect to affect. Doing so adds a green arrow that will superimpose itself on your clip. The point at the back end of the arrow marks the beginning of the panning transformation while the point at the tip of the arrow head represents the end of the panning effect. As our playhead rolls from left to right, the panning effect will take place.

Step 3
With your mouse, click on the point located at the head of the arrow turning it from white to red. Next grab the footage that is displayed on the canvas and proceed to move it so that the focal point is shifted to the desired location.

Step 4
That’s it. Hit the playhead to see the panning effect in full bloom.
Option:
When panning, it is best to use a combination of the zooming and panning effect. For instance, start by creating an animation for the zoom effect then create another animation (keyframe) by panning the already zoomed footage. This way, you panned footage will be larger and bring more attention to what is being shown.
Conclusion
Knowing how to zoom and pan in Camtasia opens a new world of creative possibilities. Experiment with different footage and photos and be sure to use the effect sparingly. When used in moderation, it can bring attention to important segments in your tutorial videos. Happy zooming.